
This is the second in a series of tutorials that should help getting started with editing heraldic images in Inkscape.
We are going to demonstrate using Inkscape because it is free and available on Windows, Mac and Linux.
This tutorial will focus on the techniques needed to create heraldic variants rather than general program usage.
Removing unwanted parts of an image

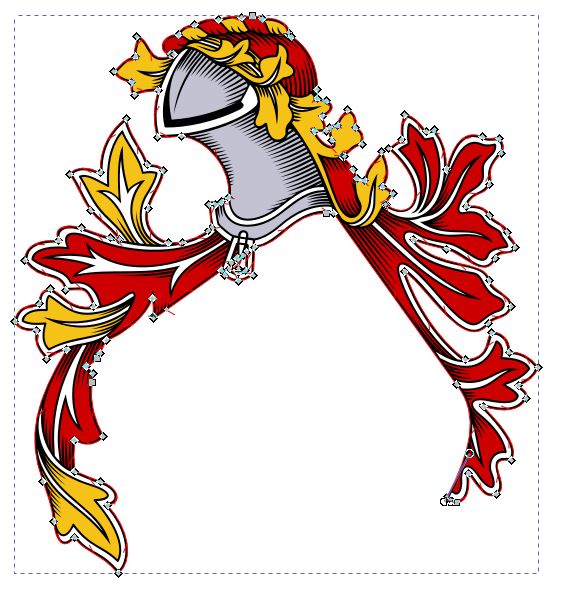
Removing the shield from an image so that a different shield shape can be used is a common requirement.
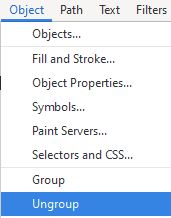
Open the base file, click on it to see if it needs to be ungrouped. Click Obect > Ungroup (Shift+CTRL+G) if needed.
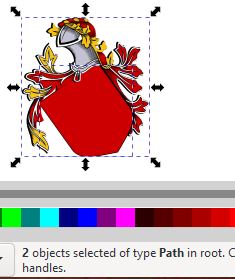
Zoom as needed to select the black background (Ctrl+Mouse Wheel), click to select the black background / outline by the shield and then hold shift while clicking on the shield (field), The
status bar should show two objects selected.
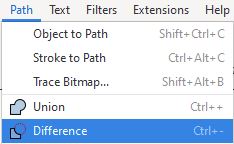
On the Path menu clock Difference (or hold Ctrl and press minus).
This uses the top shape to trim the back shape. Trimming and shaping with the options on the path menu are powerful editing techniques that can make short work of removing unwanted parts or joining images together.
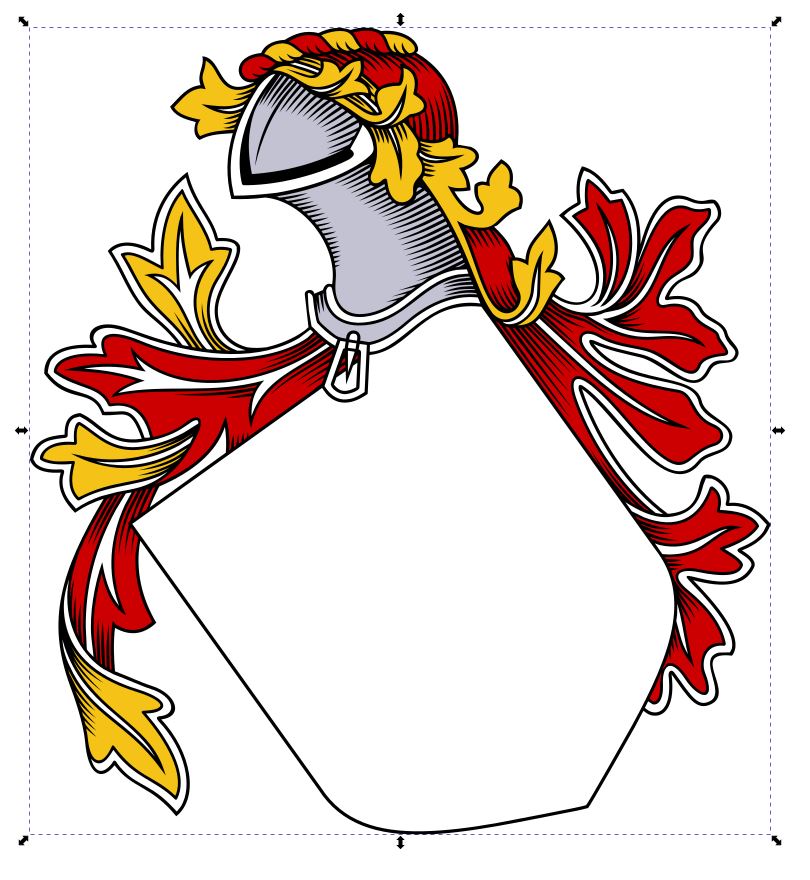
The field of the shield will be cut out, leaving a holde in the black background.
Next, select the node edit tool from the toolbar. The node edit tool will let you add, delete, and move the nodes and control points for lines.
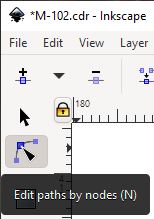
In the sample image there is a black line that was outlining the shield that needs to be removed. Nodes can be added, deleted, moved, split or and joined to remove the unwanted parts.
To remove a long line around an enclosed hole, nodes can be split and rejoined to different nodes to open the hole.
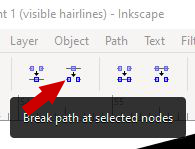
Clicking on a node will select the node, Click the Break Node button on the top toolbar.
A double-click on a selected line should add a node where you click. You may want to create extra nodes to limit the effect of moving nodes.
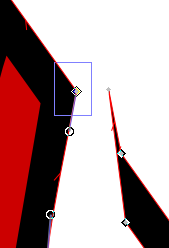
When you move one of the split nodes, you end up with an unclosed path, Inkscape will continue to draw it filled, the real line of the path is marked by a thin line (red) while the gap in the path has no line along the edge (shown by red arrows). This may be hard to see on some monitors.

Drag one of the nodes for the part to be kept onto the other end node of the part to be kept and repeat to close the part that is being removed.
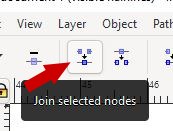
Marquee Select the overlapping nodes by dragging a box over the nodes that need to be joined to select them.
Click the Join nudes button on the top toolbar. Repeat to close the other split part.
Unwanted parts of the line can now be trimmed by selecting and deleting nodes.Some nodes May need to be added or moved on the other end of the line to blend the removed part with the part being kept.
Additional shaping and edits may be needed to fill in missing parts where the shield was removed if the new shield leaves remnants of the old shield shape exposed
|